Table of Content
Knowledge center where you can learn everything you need to know about pottery and knife making as well as glass fusing. Stick to glaze and paints while you learn how to use other decorating materials and more complex decoration techniques like carving or transfer printing. Similar models are perfect for beginners and those who want to start making pottery at home.
Completing this process, take out your product from the wheel and dry it. Pit firing is also known as smoke firing and is a very traditional method of firing clay. For unglazed, natural looking pottery, this is a perfect method but it can also be used for glazing if needed. As the name suggests, pit firing takes place in a hole or pit. Porcelain clay is quite difficult to shape and requires a generous amount of water that needs to be strategically added to the mix while shaping it.
Ito Rocky Interactive Dog and Cat Food Puzzle Toy
Once you’re happy with your bowl, let it dry overnight. Lots of people are benefitting from making ceramics at home, and this post told you how to do it, and any other considerations you may have. We should select the tool according to the shape of the bowls. To make professional ceramic bowls, you will need many tools. But if you want to make it for your home usage, you can perform the work with simple tools. Here is a description of the tools given below for this process.
Pottery wheel will definitely make the pottery making process easier as it will help you shape the objects. The potter’s wheel is a very important tool for making pottery. It allows the potter to make pots that are symmetrical and have a smooth surface.
How does Raku Firing Work?
So, make sure your clay pot is completely dry before placing it in the kiln for firing. Soul Ceramics is an online retailer providing the lowest online prices for ceramics and pottery equipment, heat treating ovens, glass fusing kilns and other art supplies. Potters and ceramic artists use different pottery making techniques depending on the kind of items they want to make.

Smooth around the outside of the clay and get a feel for the shape and weight of the clay. When you’re ready to begin the piece, push the clay forward with the palms of your hands, which is called a plow forward. Place the clay firmly on the wheel with the tip facing down. Position the clay cone so the rounded point is directly over the center of the wheel, and press down firmly to hold it in place. The clay should easily yield under the pressure if it is soft enough to work with.
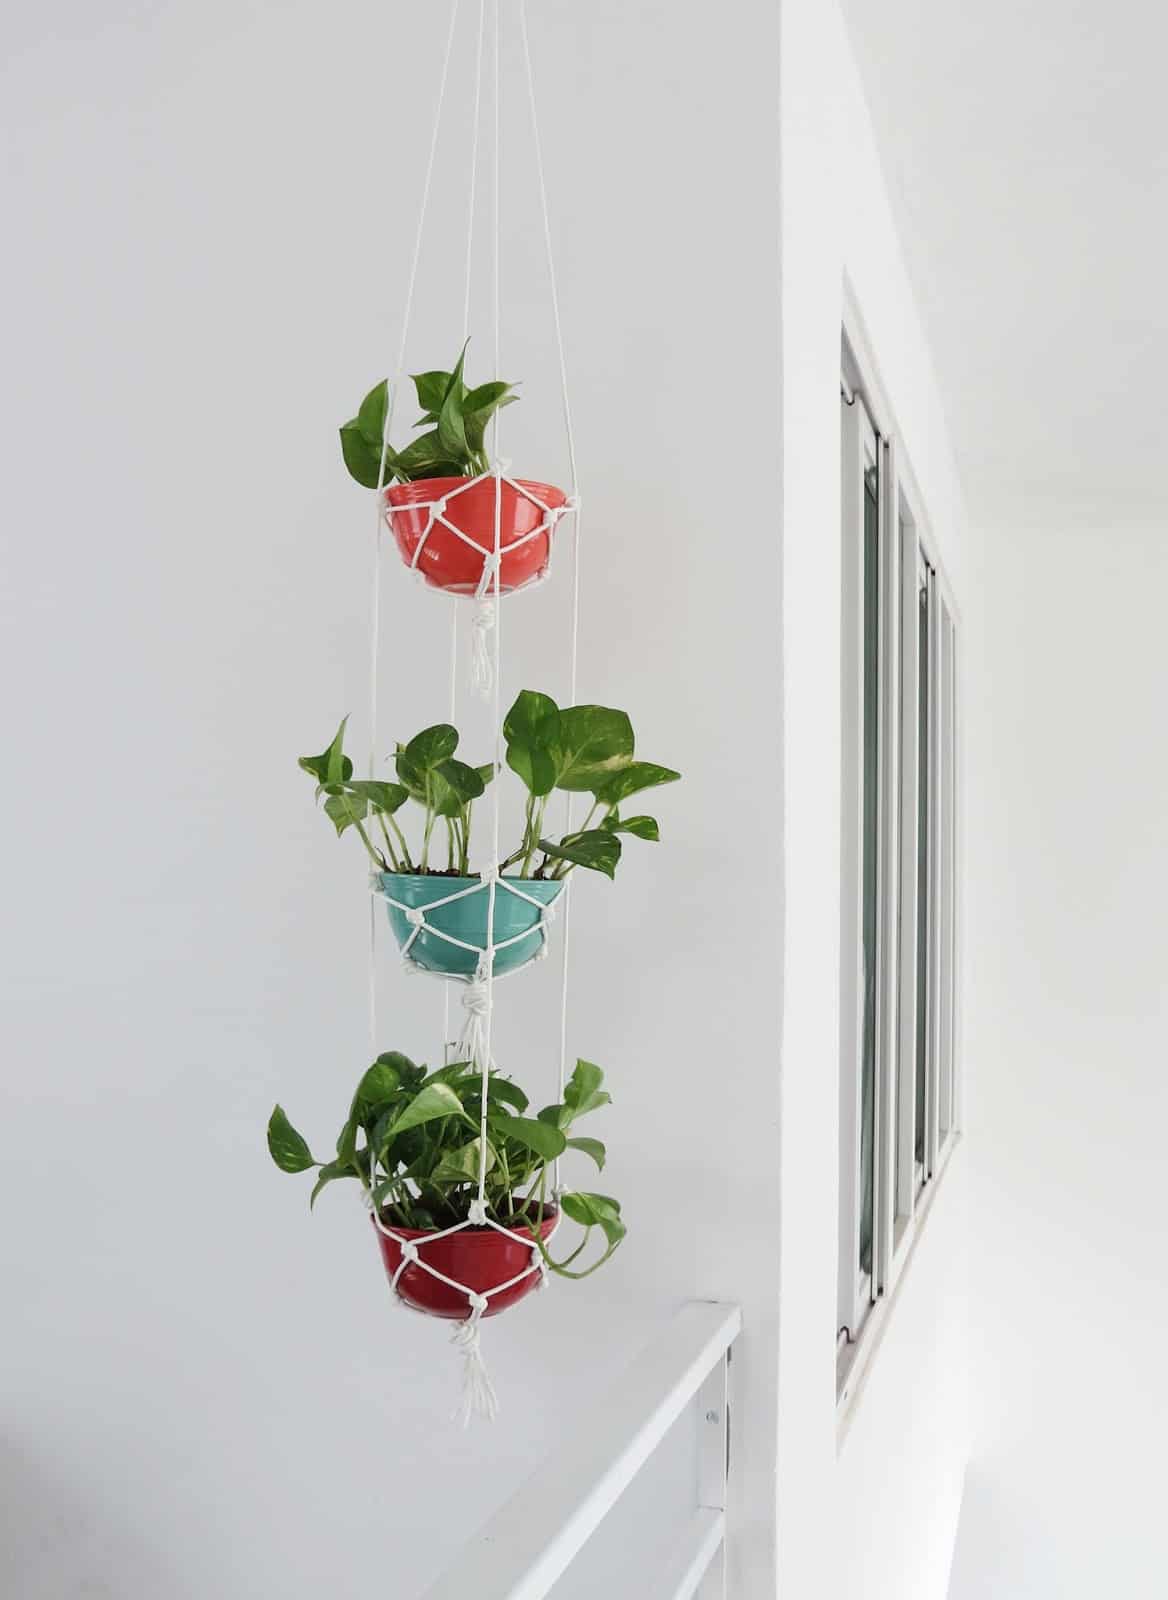
Can You Add Decorations?
If the clay isn’t firmly planted on the wheel, it may slip and slide around as you’re trying to shape it. Be sure to read the package instructions before working with the clay, since specific brands normally have different requirements for drying and firing clay. Your glazing mix must not be too thick or too thin; else it can promote crazing on the pottery surface. Always consider applying the next coating only once the previous one is completely dry. Wear a mask while rubbing the surface of your ceramic ware with sandpaper.
If you don’t add enough water it quickly dries out and if you add too much water it can easily lose its shape and collapse. Learning how to work with porcelain clay takes time and a lot of practice, so it might not be the best option for those who want to try pottery making at home for the very first time. Once you have your shape cut out, use a rolling pin to smooth out the edges. Now it’s time to add any final details, like handles or a design on the rim.
In This Article (
This article looks at how to fire clay without a kiln, which may not always be readily available. It needs to be glazed if you want your pottery to be permeable. This extra step requires extra time and materials, which might not be ideal for beginners.

Let the clay dry overnight until it becomes lighter in color. If your piece is made of air-dry clay, be sure to check the directions to find out how long you should let the piece dry before handling it. For clay that needs to be fired in a kiln, make sure the clay is dry to the touch, which can take hours, depending on the clay that you used and the size of the project. Turn the wheel on slowly and tap the clay with dry hands.
The process may seem a bit difficult at the beginning. But all you need to do is understand the basics about glazing first, then go on experimenting with different colors, effects, and multiple glazes. When you place the clay at the center, the next step is opening the clay. Using the force of hands, we split up the clay and give it a doom shape from inside. This step is a little tricky, and after this step, our clay starts looking like a bowl.
Since ceramics contain metal oxides, it changes the molecular structure of clay when heated. Hence, all clays can be considered ceramic, but not all ceramics are considered clay. While there are various types of ceramic clays, Porcelain, Earthenware, and Stoneware are the majorly used in pottery.
She has taught at the University of Minnesota and the American Indian OIC School. Natasha holds an MFA from the University of Minnesota and a BFA from Kiev Fine Arts College. I don't use them personally, so I'm not entirely positive, but the plastic-based clays supposedly dry on their own. So the polymer clays or air dry clays will supposedly dry on their own without heat. Most of the pros use water-based clay though, which needs to be fired in a kiln at least once.
They are highly durable and bestow white color owing to higher levels of kaolin concentration. Porcelain can be fired at a very high temperature, ranges from 1200 to 1450°C. The result is a very hard, white-translucent, shiny material.


No comments:
Post a Comment