Table of Content
Smooth around the outside of the clay and get a feel for the shape and weight of the clay. When you’re ready to begin the piece, push the clay forward with the palms of your hands, which is called a plow forward. Place the clay firmly on the wheel with the tip facing down. Position the clay cone so the rounded point is directly over the center of the wheel, and press down firmly to hold it in place. The clay should easily yield under the pressure if it is soft enough to work with.

She has taught at the University of Minnesota and the American Indian OIC School. Natasha holds an MFA from the University of Minnesota and a BFA from Kiev Fine Arts College. I don't use them personally, so I'm not entirely positive, but the plastic-based clays supposedly dry on their own. So the polymer clays or air dry clays will supposedly dry on their own without heat. Most of the pros use water-based clay though, which needs to be fired in a kiln at least once.
Porcelain
The first step in making pottery is to gather the supplies. You don’t need much to get started with ceramics, but a few basic tools will make the process easier. Clay bowls can be made without a kiln by using a process called air-drying. This process is slow but it will allow the clay to harden without being fired in a kiln.
This step is easy to perform as you just need to select the color for your bowl. Place the bowl on the rotating wheel that the face of the bowl should down. Grab your trimming stools and start trimming the clay from the sides. Shave away the layers from sides until you get a smoother shape from all sides of the bowl. Notice that you have made the foot of your bowl stand.
Oven Firing
Refine those carved areas to make them look prominent and catchy. Use flexible rulers to mark the pottery body properly. This is what you need to do to throw the clay, and it’s ultimately something that you can work on to get better with and something you can really master for yourself.
To perform efficiently, you have to follow each step carefully. While making the ceramic bowls, you have to be patient. Generally, we make ceramic bowls over a potter’s wheel. You will have failed attempts, but eventually, you will end up succeeding. As eye-catching as it is functional, this slow feeder is available in a range of sizes to match your animal's food needs.
How to Make Ceramics At Home| 40 Videos of Ceramic Art
While wet food can be added to either a lick mat or a slow feeder, your pet may find the former easier to use, says Dr. Miller. We can guide you on the most effective solutions for your needs and help you to create consistent and quality finished products time after time. The first element in the process is to create a bisque fire, the traditional name given to the first firing of pottery before it is glazed. Most Raku firings use a barrel to house the wares, as they have a few openings that you can use for access to the pottery once it has been fired. Turning their hobby into a business venture or simply as a way of creating unique gifts for their family and friends. One of the main issues to consider when creating pottery is how to fire it.
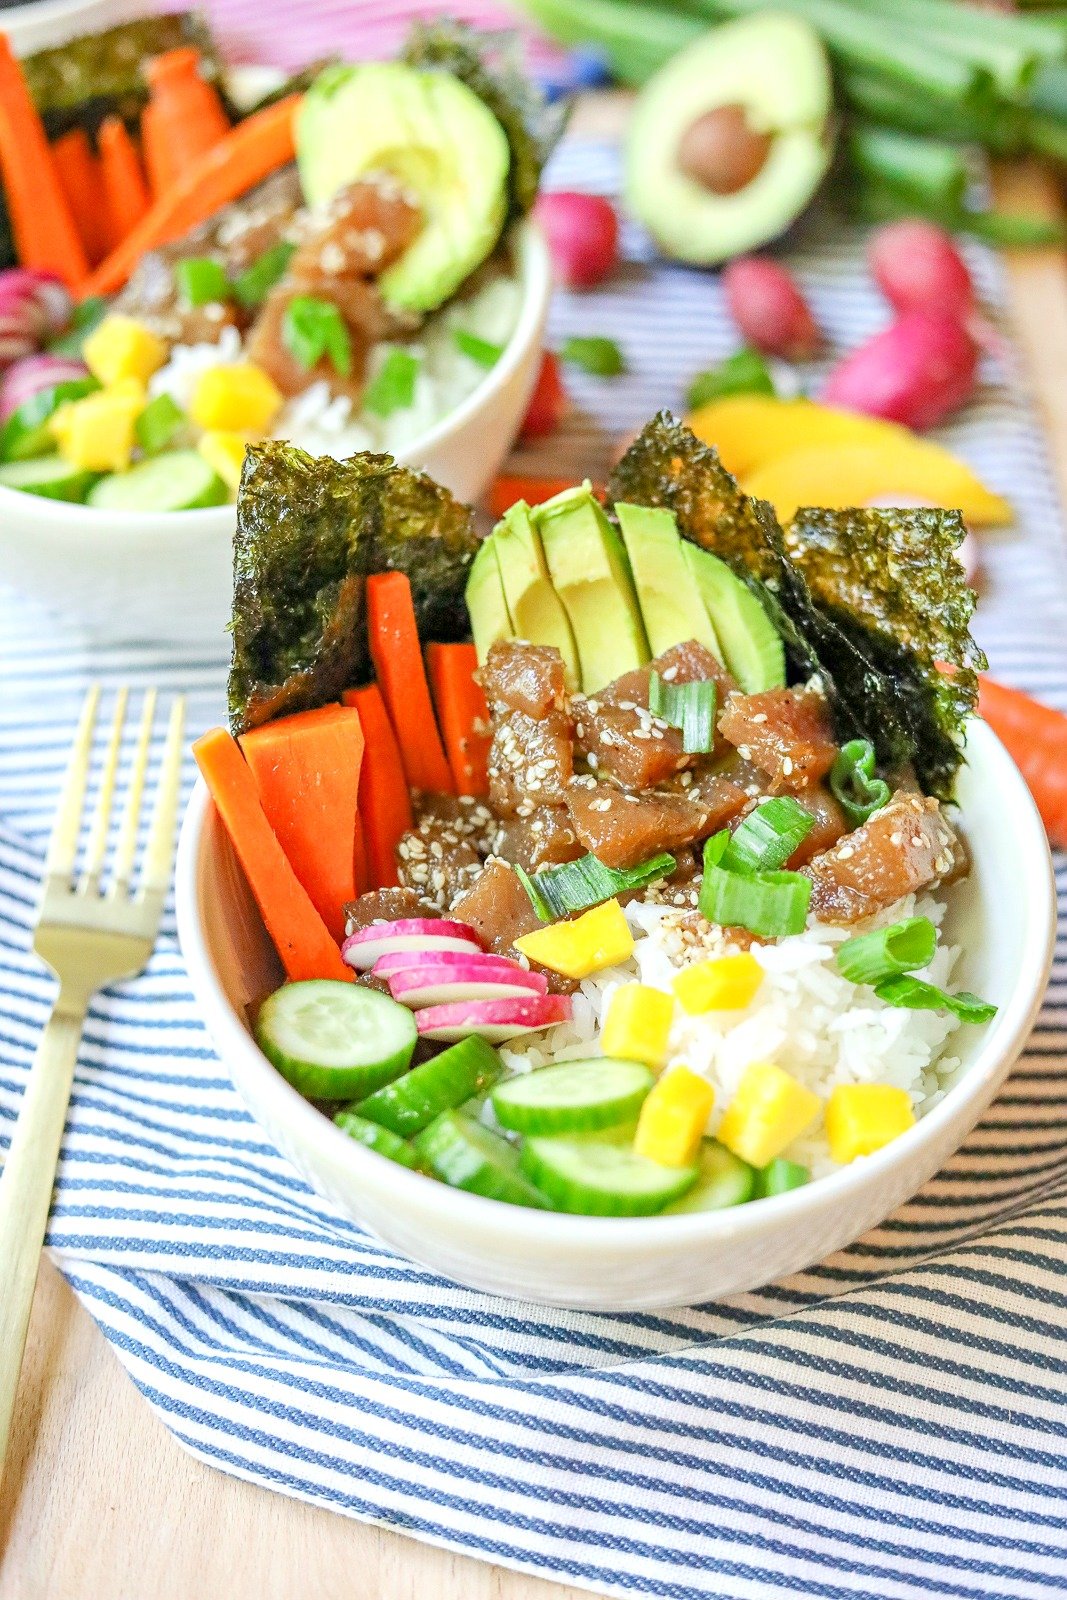
A bisque-fired clay is ideal for applying glazes, as it has an apt absorbent surface, which helps to absorb the glazing mixture quite quickly, and that too without harming the clay. Earthenware clay is low fired and consists of fine grain particles. This kind of clay can be easily worked on and are sticky and highly plastic in nature. It results in a hard but fragile material that is porous in nature. In order to make the object non-porous, a glaze is added to the pottery & then, it is fired in the kiln for the second time. Nowadays, many people are using ceramic bowls as utensils at home.
Let the clay dry overnight until it becomes lighter in color. If your piece is made of air-dry clay, be sure to check the directions to find out how long you should let the piece dry before handling it. For clay that needs to be fired in a kiln, make sure the clay is dry to the touch, which can take hours, depending on the clay that you used and the size of the project. Turn the wheel on slowly and tap the clay with dry hands.

Locate a kiln at a local community center, art space, or library, and schedule a time to fire your piece. Carefully lower the item into the kiln, and close the lid. Make sure the kiln is set to the correct temperature for “bisque” firing, which is the first stage of firing the pottery. When it’s finished, carefully remove the item from the kiln to add a glaze. This blog post provides a detailed tutorial on how to make a stoneware pottery bowl. The author begins by explaining the tools and materials needed for the project.
As kitchen ovens can only achieve certain temperatures, it is best to use clay that can be fired at a low temperature . Place the finished object in the oven for around an hour at this temperature or for up to 3 hours for thicker or larger projects. Do not over fire the clay in the oven, as it may become too hard and brittle. The negative of using pit firing is that it is difficult to achieve a consistent heat. This can lead to a more fragile finished piece or uneven glazing. The barrel must be placed near to the fire with the pottery placed carefully inside.
On the other hand, ceramics are various substances that are added to the clay to harden it when heated. When it comes to ceramics, sometimes you may not have the time or resources to consider going all the way out to a studio. If you’re someone who spends a lot of time at home, whether you’re watching kids or otherwise, sometimes home is really the only option. We dry our newly made bowl before working more on it. Here we use another tool called the “wire tool.” We use this tool to cut the clay from the wheel, and after cleaning, we place our bowl into a dark cupboard.
Set the wheel to a low setting and use your hands to gently smooth and center the clay over the middle of the wheel. This will ensure that the piece is symmetrical over the base. Pay attention to how the clay moves when you reposition your hands, and make sure there are no bumps in the clay. Choose your glaze based on the type of clay that you are using. If the firing temperature of your clay doesn’t go compatibly with the firing temperature of your glaze, it will crack your ceramic ware.

You may encounter a problem while performing this step. It should be just right and shouldn’t have many ups and downs. This slow feeder has ridges shaped like a flower; it will encourage your pet to eat slower.


No comments:
Post a Comment